> ## Documentation Index
> Fetch the complete documentation index at: https://www.cashfree.com/docs/llms.txt
> Use this file to discover all available pages before exploring further.
# Payment Button
> Embed Cashfree Payment Buttons by copy-pasting auto-generated HTML into your website or blog to accept secure online payments without writing any code.
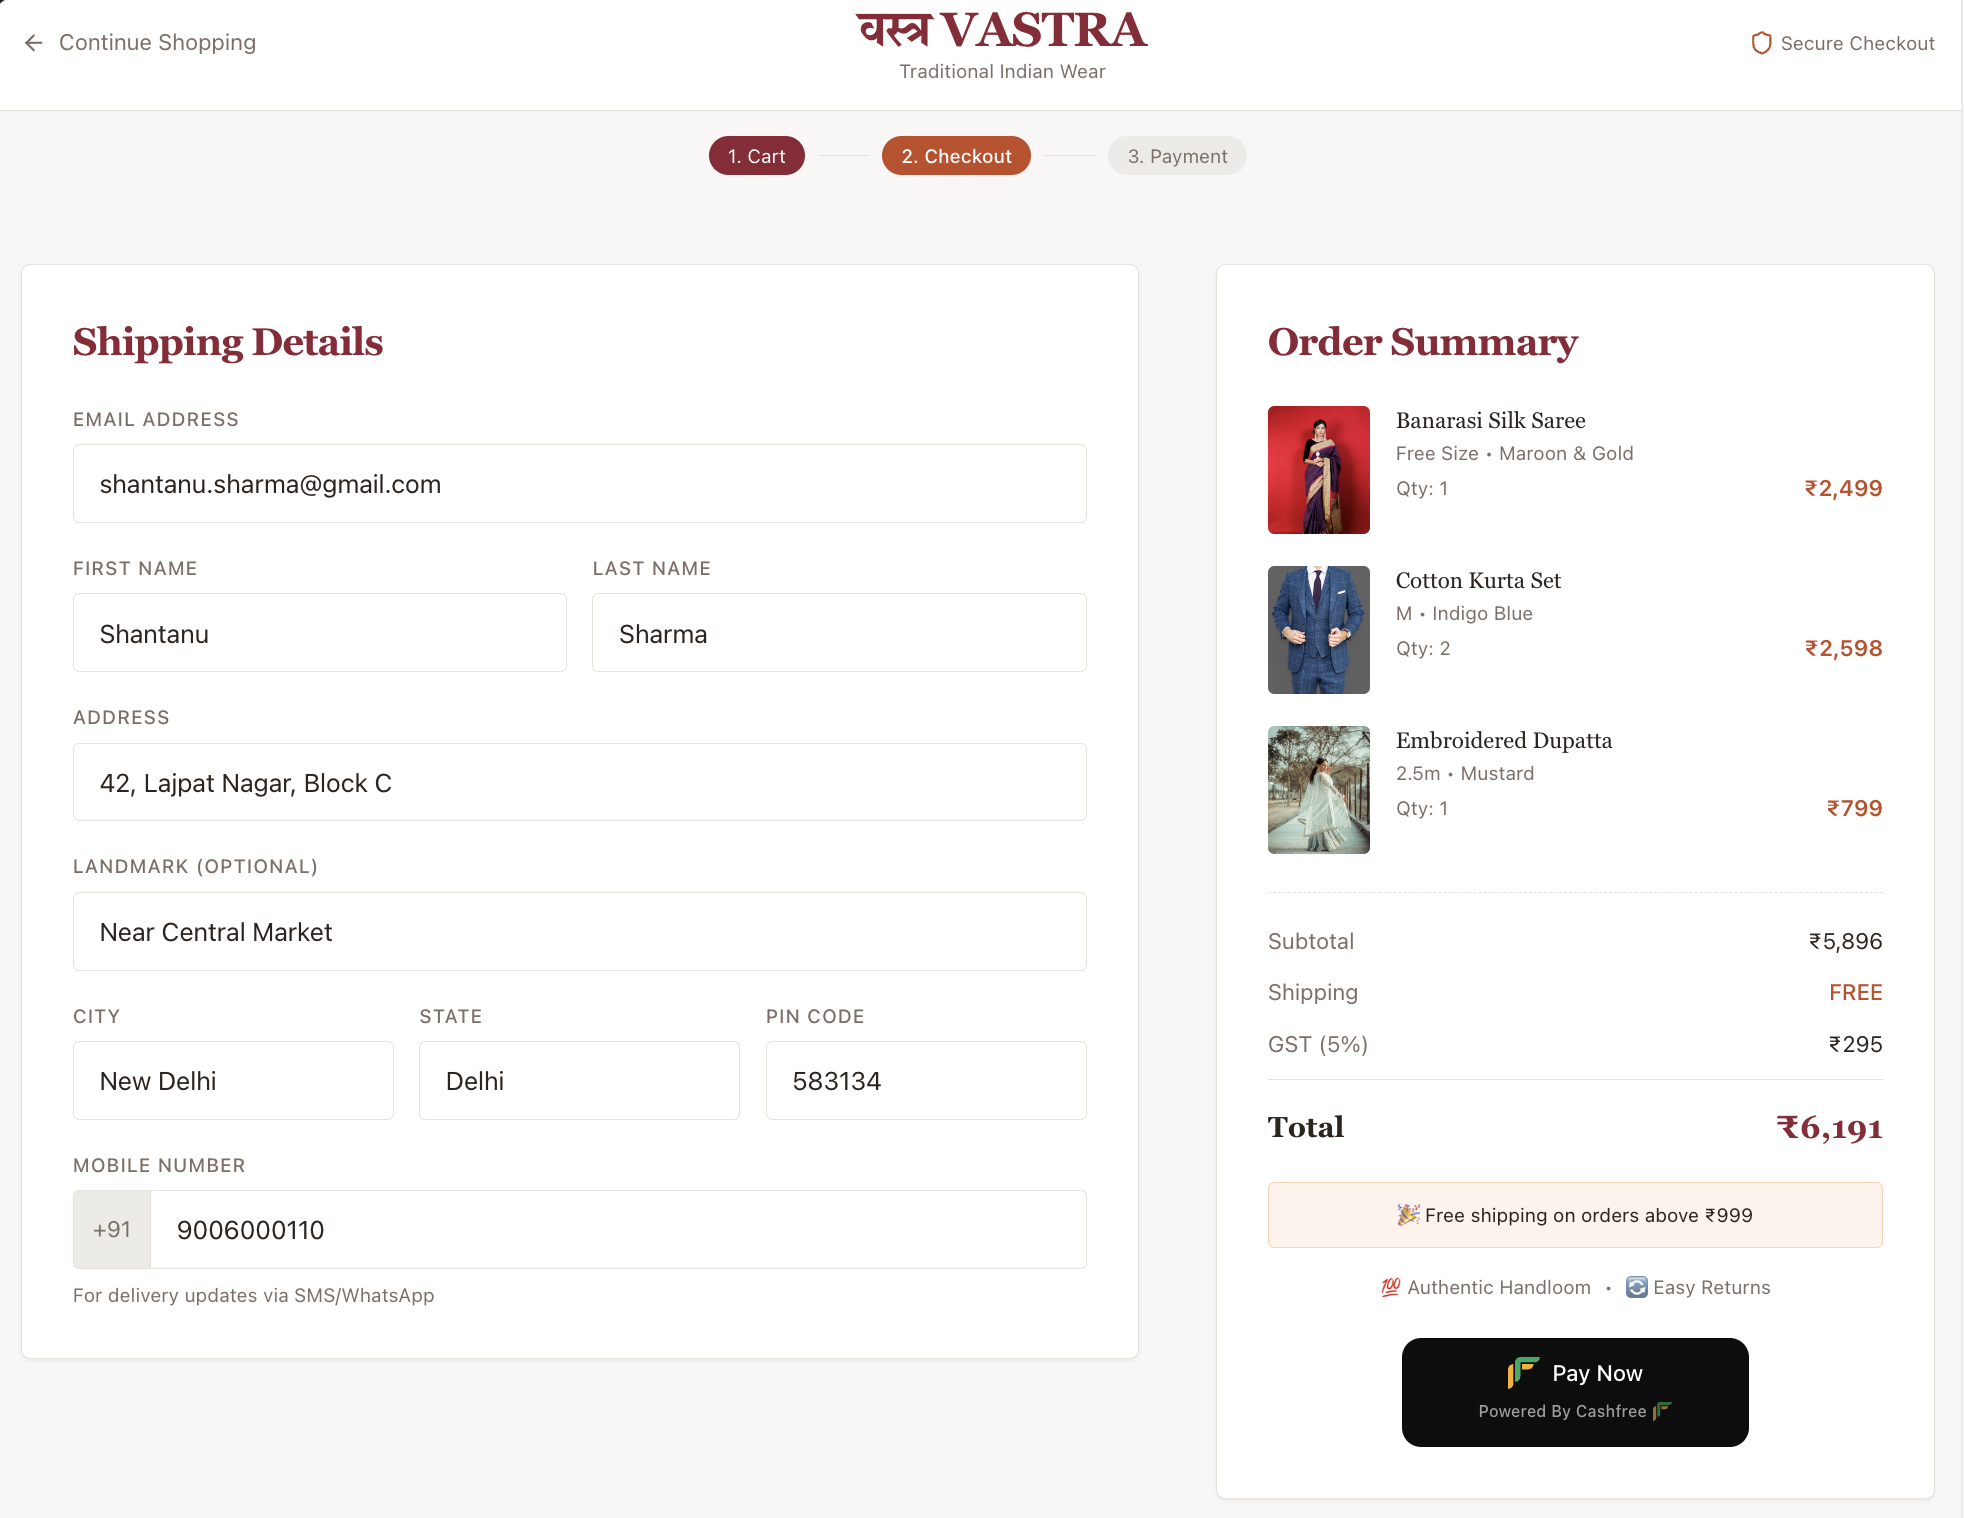
Cashfree payment button provides a simple HTML code that you can copy and paste on your website, blog, or any HTML page. The system-generated code offers a professional and secure way to collect payments for any use case, as shown in the following example.
```html HTML theme={"dark"}
```
## Key benefits
The payment button streamlines your collection process with several automated features:
* **Fast setup**: Accept payments in a matter of minutes by simply embedding a code snippet.
* **Custom information collection**: Collect information based on your case, such as donations, events, selling physical or digital products, etc.
* **Automated redirects**: Redirect back to your website by using the **Return URL** feature after a transaction.
* **Instant invoicing**: Send invoices after successful payment to your customers automatically.
## Use cases
You can deploy the payment button across various business models to handle transactions efficiently.
* **E-commerce**: Sell physical or digital products on any custom website or blog.
* **Donations**: Collect funds for social causes or NGOs with a simple Donate Now button.
* **Events**: Manage registrations and payments for workshops, webinars, or local events.
* **Service bookings**: Allow customers to pay for appointments or reservations using custom CTA text such as Book Now or Reserve Now.
## Creating a payment button
Follow these steps to log in, configure, and generate your custom payment button within the Merchant Dashboard:
1. Log in to the [Merchant Dashboard](https://merchant.cashfree.com/auth/login).
2. Go to **Payment Gateway Dashboard** > **Payment Button** > click **Create Payment Button**.
3. Enter the **Button Text** (Call to Action) and specify with examples such as Pay Now, Donate Now, Book Now, or Reserve Now.
4. Customise the **Button Text Colour**, **Background Colour**, **Select Font Style**, and **Select Form Code** according to your website or blog. You can view the preview directly in the editor.
5. You need a **Payment form** to create a payment button. These forms let you collect customer information such as name, address, and other details specific to your use case.
6. Create your form in the [**Payment Form Dashboard**](https://merchant.cashfree.com/merchants/pg/payment-forms/all) and link it to your payment button using the **Form Code**. We recommend using a readable form code in the personalised URL section during creation; you can find this code listed against each form in the dashboard.
7. After you click **Create**, copy the generated HTML snippet and paste it into your website.
 ## Platform integration guides
Choose your website hosting platform below to see specific instructions for embedding your payment button code accordingly:
Follow the steps given below to integrate the payment button with Google Sites:
1. Log in to your [Google Site](https://sites.google.com/) and switch to **Editor mode**.
2. Navigate to the page on which you want to place the button.
3. Navigate to **Insert** → **Embed** → **Embed Code** and paste the Cashfree button code from the dashboard.
4. **Publish** to view the button on your Google Site.
Follow the steps given below to add an HTML section for your payment button on GoDaddy:
1. Log in to your [GoDaddy website](https://www.godaddy.com/) and switch to **Editor mode**.
2. Navigate to the page on which you want to place the button.
3. **Add a section**, select **HTML**, and click **Add**. Paste the Cashfree button code.
4. Add a pixel length of **1000** in **Forced Height** field and **Publish** the site.
Follow the steps given below to add the payment button using the Embed Code element on Weebly:
1. Log in to your [Weebly website](https://www.weebly.com/login) and switch to **Editor mode**.
2. Navigate to the page on which you want to place the button.
3. Navigate to **Build** → **Individual Elements** → **Embed Code**.
4. Drag and drop an element and select **Click to set Custom HTML** box.
5. Select **Edit Custom HTML** and add the Cashfree payment button code.
6. **Publish** to view changes.
Follow the steps given below to add the payment button code in the HTML view on Blogger:
1. Log in to your [Blogger website](https://www.blogger.com/) and switch to **Editor mode**.
2. Navigate to the page on which you want to place the button.
3. Select **HTML view**, add the Cashfree payment button code, and **Publish**.
## Platform integration guides
Choose your website hosting platform below to see specific instructions for embedding your payment button code accordingly:
Follow the steps given below to integrate the payment button with Google Sites:
1. Log in to your [Google Site](https://sites.google.com/) and switch to **Editor mode**.
2. Navigate to the page on which you want to place the button.
3. Navigate to **Insert** → **Embed** → **Embed Code** and paste the Cashfree button code from the dashboard.
4. **Publish** to view the button on your Google Site.
Follow the steps given below to add an HTML section for your payment button on GoDaddy:
1. Log in to your [GoDaddy website](https://www.godaddy.com/) and switch to **Editor mode**.
2. Navigate to the page on which you want to place the button.
3. **Add a section**, select **HTML**, and click **Add**. Paste the Cashfree button code.
4. Add a pixel length of **1000** in **Forced Height** field and **Publish** the site.
Follow the steps given below to add the payment button using the Embed Code element on Weebly:
1. Log in to your [Weebly website](https://www.weebly.com/login) and switch to **Editor mode**.
2. Navigate to the page on which you want to place the button.
3. Navigate to **Build** → **Individual Elements** → **Embed Code**.
4. Drag and drop an element and select **Click to set Custom HTML** box.
5. Select **Edit Custom HTML** and add the Cashfree payment button code.
6. **Publish** to view changes.
Follow the steps given below to add the payment button code in the HTML view on Blogger:
1. Log in to your [Blogger website](https://www.blogger.com/) and switch to **Editor mode**.
2. Navigate to the page on which you want to place the button.
3. Select **HTML view**, add the Cashfree payment button code, and **Publish**.