

Prerequisites
Before you create an agent, confirm the following.- You have a valid Cashfree Merchant account and can log in to the Merchant Dashboard. If you don’t have an account yet, see Account Activation.
- If your agent uses an app-based action (for example, Gmail or Google Sheets), you have set up the required connection under the Connections tab. For steps, see Setting up Connections.
Create an agent
To create an agent, follow these steps.1
Log in and navigate to Relay
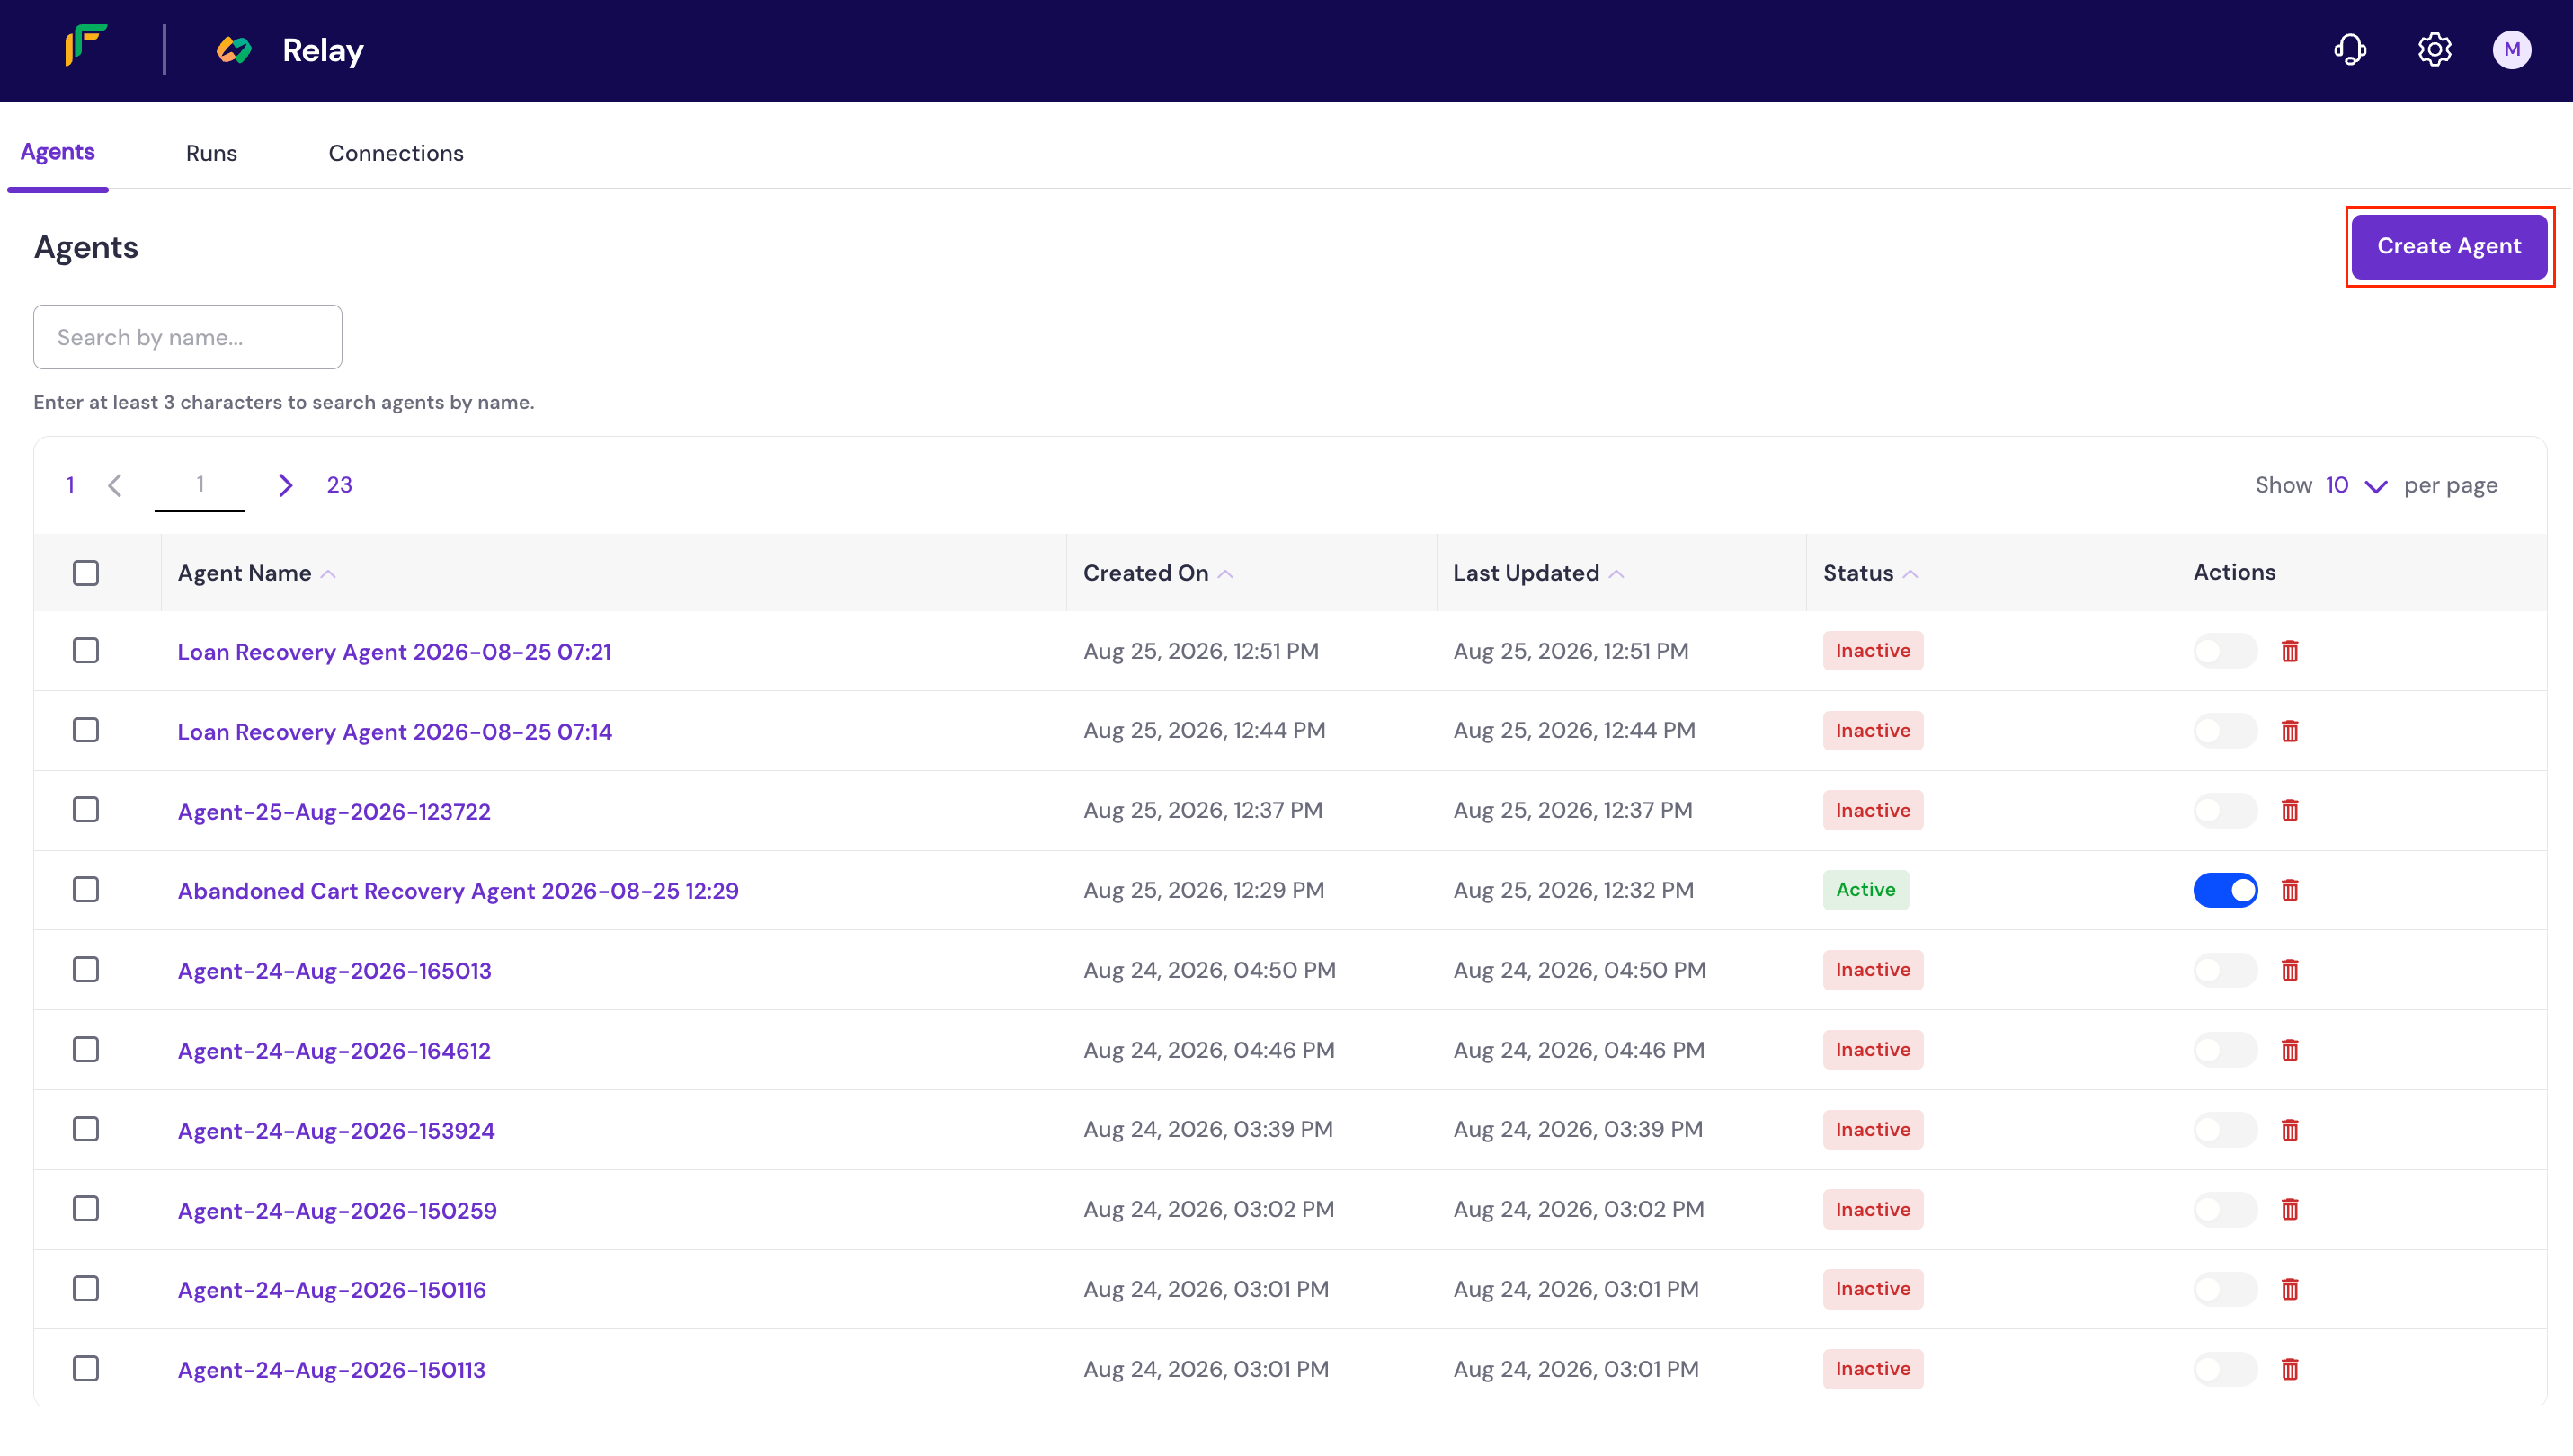
Log in to the Merchant Dashboard, then go to Relay. Open the canvas to create a new agent in either of the following ways.
- On the Relay landing page, select Set up an automation.
-
Go to View my agents, then click Create Agent on the Agents tab.
2
Add a trigger
A trigger defines the event, schedule, or inbound call that starts the agent. On the canvas, click the Add a trigger here node. A panel opens on the right asking What triggers this agent? Select a trigger type and follow the steps in the Trigger types section.
3
Add a node
After configuring the trigger, add one or more nodes to define what the agent does. On the canvas, click the + Add step button that appears between the trigger node and the End node, then follow the steps in the Node types section.You can repeat this step to chain multiple nodes and build a multi-step agent. After you configure a node, a new + Add step button appears between the last node and the End node.
The End node marks the completion of the agent and cannot be removed or repositioned. All branches in the flow must connect to the End node.
4
Activate the agent
After configuring all triggers and nodes, you can activate the agent directly from the canvas or from the Relay dashboard.
- From the canvas: In the top-right corner of the canvas, click the Draft toggle. The status changes to Active.
- From the Relay dashboard: Click the back arrow at the top left of the canvas to return to the dashboard. In the Actions column for your agent, click the toggle to activate it. The status changes to Active.
You can pause an agent at any time by toggling the switch off. The status changes to Paused. To delete an agent, click the delete icon in the Actions column on the Relay dashboard, or select Delete from the canvas menu. For details, see Agent canvas menu.
Test an agent
You can test an agent at any time from the canvas to verify that it is configured correctly before activating it.- On the canvas, click Test flow in the top-right corner. The Sample Data panel opens, displaying auto-generated sample data for the configured trigger event.
- Review the sample data to confirm it reflects the expected trigger payload.
- Click Execute to run the test.
If the test does not execute as expected, review your trigger configuration and node settings. Ensure that all required fields are filled in and that any app-based connections are active. For connection setup, see Setting up Connections.
Agent canvas menu
The canvas header includes an ellipsis (⋯) menu with the following options.Trigger types
A trigger defines when an agent starts. The following trigger types are available.- Schedule based
- Event based
- Inbound Webhook
Use a schedule-based trigger to run your agent automatically at a defined time interval.
- Click the Add a trigger here node on the canvas. The What triggers this agent? panel opens.
- Select Schedule Based. The Schedule Based Triggers panel opens.
- Select Scheduled, then select Simple Schedule. The Simple Schedule configuration panel opens.
- From the Trigger Interval dropdown, select how often the agent should run. See the Trigger intervals reference for available options and additional fields.
- Fill in any additional fields that appear based on your selected interval (for example, Trigger at Hour, Trigger at Minute, or Trigger at Day of Month).
- (Optional) From the Input Template dropdown, select a template that defines the data structure passed into the agent. Available templates include Failed Transactions and Transaction Summary (Today & Yesterday).
- Click Confirm Selection. The canvas updates to show the Simple Schedule trigger node.
Trigger intervals
Trigger intervals
The following intervals are available in the Trigger Interval dropdown. Some intervals display additional configuration fields after selection.
Node types
A node defines what the agent does after the trigger fires. The following node types are available.- Action in an app
- Flow control
Select Action in an app to perform an operation in an external service.
- On the canvas, click + Add step. The What happens next? panel opens.
- Select Action in an app. A list of available apps appears. See Supported apps for a full list.
- Select the app you want to use. A list of available actions for that app appears.
- Select the action to perform. The action configuration panel opens.
-
From the Connection dropdown, select an existing connection for the selected app.
Connection requirements vary by app. Apps such as Gmail, Google Sheets, and Slack require a pre-configured connection. The Connection dropdown lists only connections that have been set up in the Connections tab. If the required connection does not appear, set it up before configuring this action. For steps, see Setting up Connections.
- Fill in all required fields for the selected action. Required fields are marked with an asterisk (*). Optional fields can be left blank.
- (Optional) Under Sample Data, click Test Node to validate the action configuration. A successful test displays a confirmation; if the test fails, review the connection and field values before proceeding.
- Click Save to add the node to the canvas.
Supported apps
Supported apps
The following apps and services are available for app-based actions.
What’s next
Manage agents
View, edit, pause, or delete existing agents from the Relay dashboard.
Set up connections
Set up connections to external apps and services required for app-based actions.