1
Log in to the Agent Dashboard
- Enter your registered email address to receive a one-time password (OTP).
- Enter the OTP to access the dashboard.
2
Check availability
- Navigate to My Profile to view your availability window (days and time slots) for receiving verification calls.
3
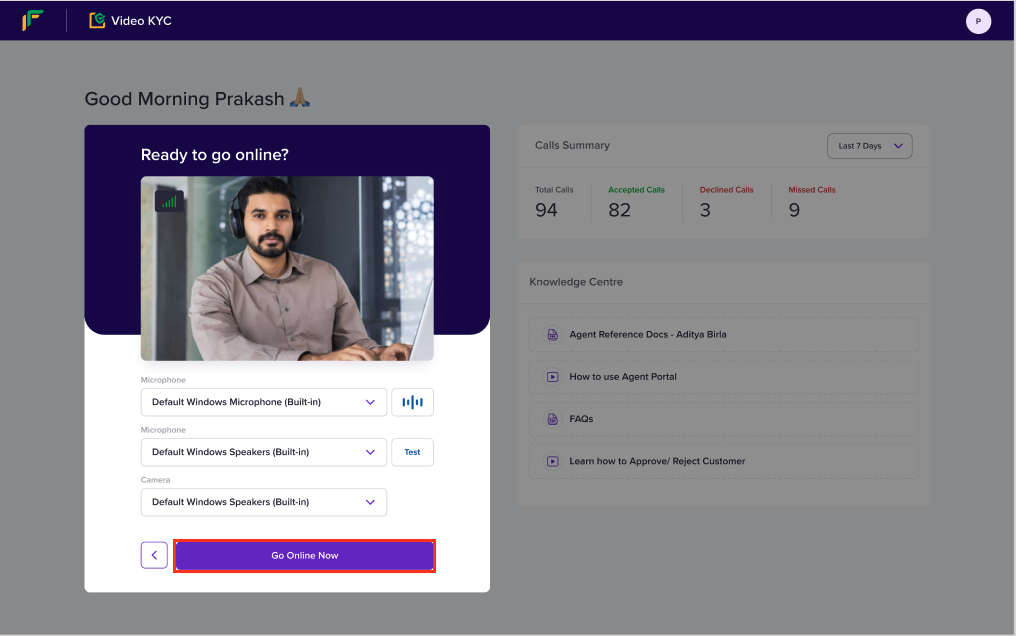
Go Online
- From the dashboard home screen, select Go Online Now.
- Check audio and video device settings and confirm readiness to accept calls.
- The system queues incoming VKYC sessions once you are online.
4
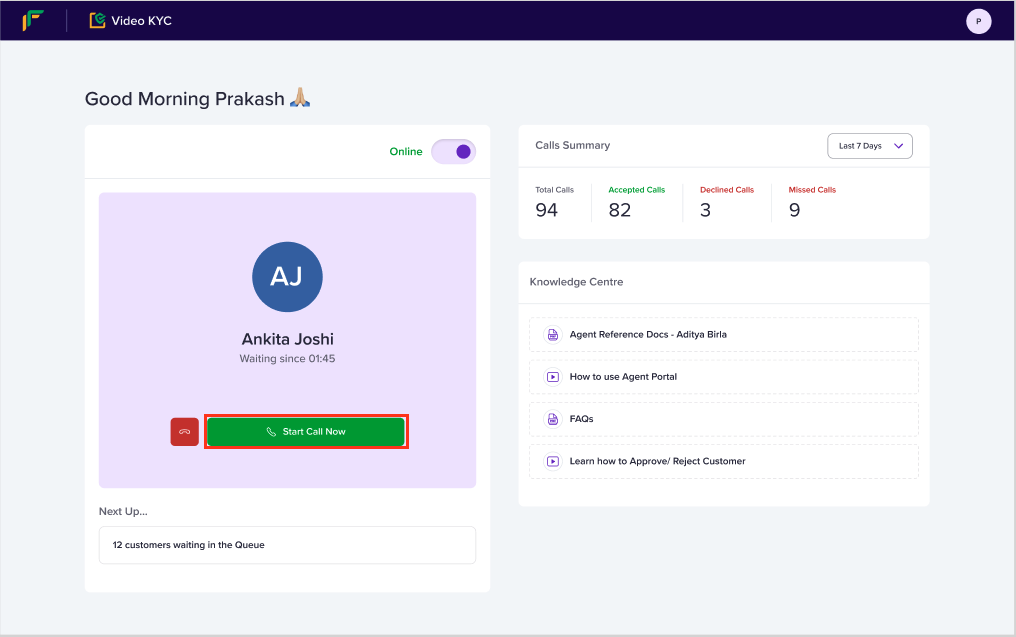
Start the verification session
- Select Start Call Now when a customer appears in the queue.
- Review the basic customer information including:
- Full name
- Reference ID
- Phone number
- Fetched location data with latitude and longitude
5
Conduct the VKYC verification
Security validation:
- Ask predefined security questions such as employment type, salary range, and hometown.
- Mark each answer as Pass or Fail.
- Ask the customer to read a system-generated numeric code aloud.
- Validate responsiveness and clarity.
- Instruct the customer to place the PAN card on a flat surface.
- Flip the camera and capture a clear image of the document.
- Verify document accuracy using OCR comparison (name, number, image match).
- Instruct the customer to align their face within the frame.
- Capture a photo and compare it with the Aadhaar image.
6
Review and submit
- Review session data across all checks:
- Basic details
- Security questions
- Liveness verification
- PAN card and selfie capture
- If all checks pass, select Approve.
- If any check fails, select Reject, choose the appropriate rejection reason, and confirm.

7
End the session
- End the call and wait for the next customer in the queue.
- The session is automatically routed to an auditor for final review.