

CFSubsCardNumberView component captures and processes the card number entirely within the SDK, your application never receives the raw card number. This makes the integration suitable for non-PCI merchants, that is, merchants who are not certified to store, process, or transmit raw cardholder data, and who rely on the SDK to handle card data securely on their behalf.
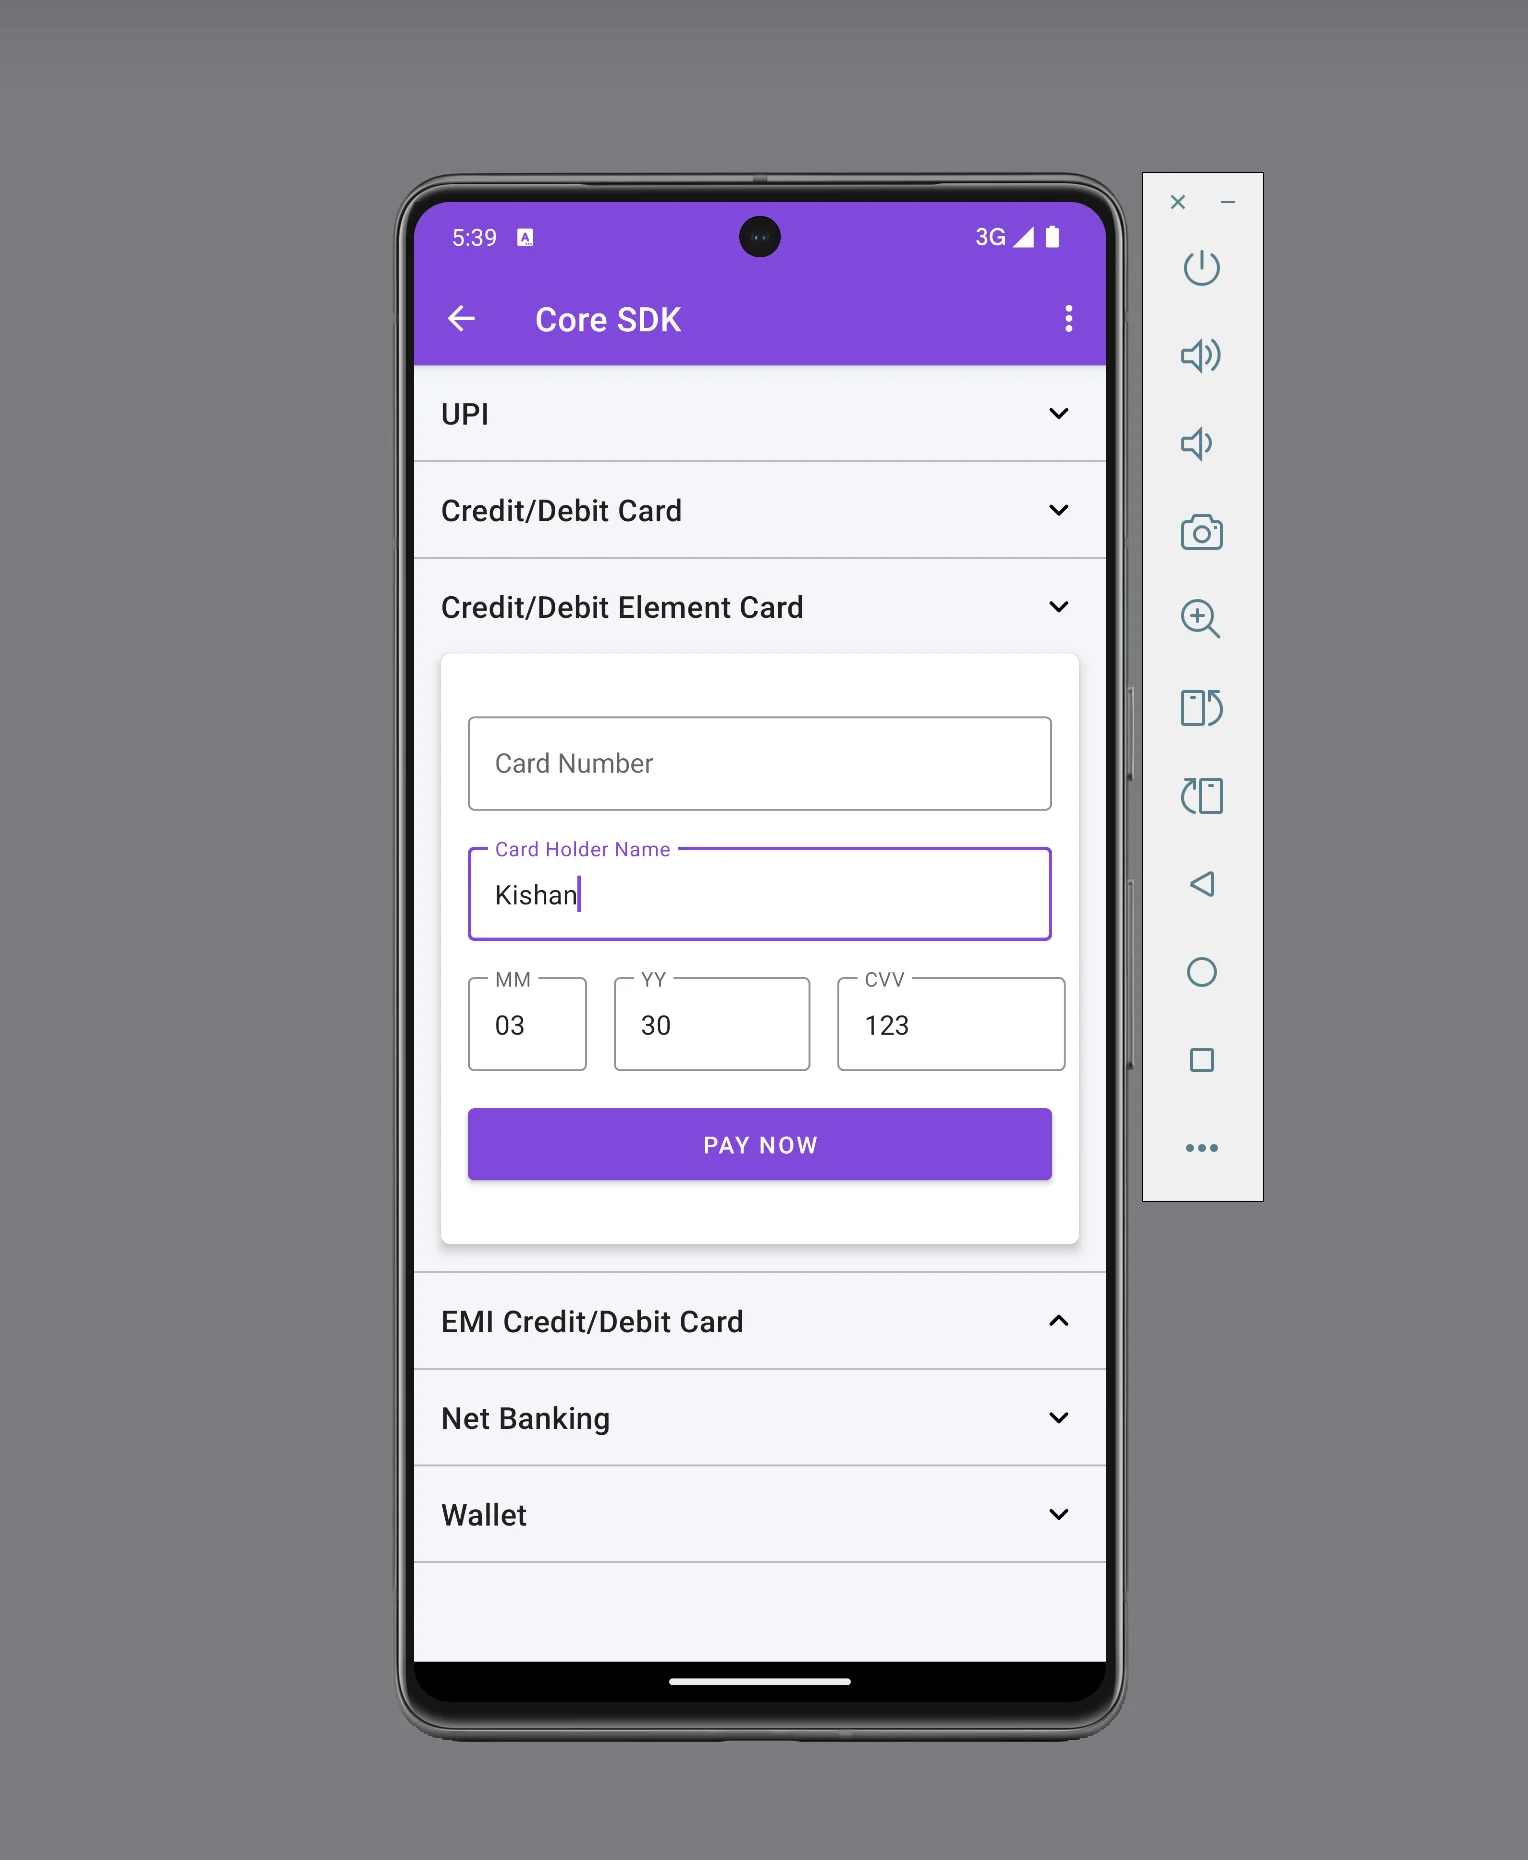
Sample card UI with CFSubsCardNumberView
This page covers the custom card component integration only. For the full Android Subscription Element integration, including UPI Intent and eNach (net banking), see Android Integration.
Prerequisites
Complete the following tasks before you start the integration:- Create a Cashfree Merchant Account.
- Log in to the Merchant Dashboard and generate an App ID and Secret Key. Learn how to generate API keys.
- Set your application’s
minSdkVersionto API level 19 or higher.
Step 1
Create a subscription
Step 2
Open the payment page
Step 3
Confirm the payment
Step 1: Create a subscription Server-side
Create a subscription from your backend server before you process any payment.This API requires your secret key. Create subscriptions through your server only — do not call this API directly from your mobile application.
subscription_id and a subscription_session_id. Pass both values to your Android client to proceed with the payment.
API request for creating a subscription
API request for creating a subscription
The following example shows how to create a subscription using the Create Subscription API:A successful response returns the For the full list of request parameters and response fields, see the Create Subscription API.
subscription_id and subscription_session_id. Use these values to build the CFSubscriptionSession object in Step 2. The API returns the following response on success:Step 2: Open the payment page Client-side
After you create the subscription, set up the card component and open the payment page so the customer can provide their card details.1. Set up the SDK
The Cashfree Android SDK is available on Maven Central. The latest version is 2.4.0. The SDK requires Android API level 19 or higher. Add the following dependency to your app-levelbuild.gradle file:
2. Complete the payment
To complete the payment, follow these steps:- Add the
CFSubsCardNumberViewcomponent to your layout XML. - Initialise the card component in your activity or fragment.
- Create a
CFSubscriptionSessionobject. - Set up the subscription callback.
- Build the payment object and initiate the payment.
Add the card component to your layout
TheCFSubsCardNumberView component extends TextInputLayout, which means all standard TextInputLayout properties and methods apply to it. Add it to your layout XML file as follows:
Because
CFSubsCardNumberView extends TextInputLayout, you can also call standard TextInputLayout methods programmatically. The following example shows commonly used methods:
Initialise the card component
Obtain a reference to theCFSubsCardNumberView in your activity or fragment, then call its initialize() method. This method requires a CFSubscriptionSession object and an ICardInfo callback listener.
Create a session
TheCFSubscriptionSession object holds the session context for the payment. It accepts the subscription_session_id and subscription_id obtained from Step 1, and the Cashfree environment (.SANDBOX or .PRODUCTION).
Set Environment to .SANDBOX for testing or .PRODUCTION for live payments. The following example shows how to create the session object:
Set up the ICardInfo callback
Call theinitialize() method on the CFSubsCardNumberView object after you have created the session. The ICardInfo callback delivers card metadata to your application after each digit the customer enters.
JSONObject with the following structure:
The following log output illustrates how the callback data evolves as the customer enters their card number:
Set up the subscription callback
The SDK exposes theCFSubscriptionResponseCallback interface to receive callbacks when the subscription payment journey ends. This interface consists of two methods:
Build the payment object and initiate payment
When the customer fills in their card details and taps the pay button, build theCFSubsCard and CFSubsCardPayment objects and call doSubscriptionPayment() on the CFSubsCardNumberView instance.
Call
doSubscriptionPayment() on the cfSubsCardNumberView object, not on CFPaymentGatewayService. This is different from the standard card integration.Sample code
The following example shows a complete custom card component payment flow, including session creation, card component initialisation, optional theme customisation, and payment initiation.Custom card component payment sample
Custom card component payment sample
The following method demonstrates a complete non-PCI card payment integration using
CFSubsCardNumberView:Android subscription custom card component sample
Android subscription custom card component sample
Step 3: Confirm the payment Server-side
After the SDK delivers a callback viaonSubscriptionVerify, confirm the payment status from your backend before taking any action. The SDK callback signals only that the payment flow has ended. It does not guarantee a successful payment.
Use the Fetch Details of All Payments of a Subscription API to retrieve the current payment status.
API request for fetching subscription payments
API request for fetching subscription payments
The following request fetches all payments for a subscription:A successful response returns an array of payment objects. Check the
payment_status field to determine the outcome. The API returns the following response on success:Always verify the subscription status from your backend before delivering goods or services to the customer. Proceed only when
payment_status is SUCCESS.Error codes
If a required field or object is missing when you initiate payment, the SDK returns aCFException. The following table lists SDK-level validation errors and when they occur.
Show error codes
Show error codes
The SDK validation errors are grouped by category as follows:
Session errors
These errors occur when theCFSubscriptionSession object or its required fields are not provided.Payment method object errors
These errors occur when a payment method object is absent or one of its required fields is not set.Callback errors
These errors occur when the payment callback is not registered before initiating payment.Other options
The following optional configurations let you customise the payment screen appearance and enable SDK logging for troubleshooting.(Optional) Customise the theme
(Optional) Customise the theme
Apply a custom theme to the payment screen to match your application’s visual design. Use the
CFTheme builder to set colours for the navigation bar, buttons, and text. Apply the theme to your payment object before you call doSubscriptionPayment().The following example sets the available theme properties:(Optional) Enable logging to debug issues
(Optional) Enable logging to debug issues
To enable SDK logging, add the following entry to your The following logging levels are available, listed from least to most verbose:
values.xml file: